

Do-It-Yourself projects are more than just pictures on Pinterest. Is Do-It-Yourself (DIY) upcycling popular because people are saving money, because they don’t want IKEA-ish furniture or because people want to throw less stuff into landfills? Or is it popular because people enjoy creating? This was a good topic broached on Quora.com last year.
I enjoy DIY projects for a number of reasons. First and foremost, I love the creative release. I find painting a dresser or designing a new table out of a used shutter a stress reliever. Furniture made 40 or 50 years ago has a lot of history built into the real wood.
Last summer I started to grow tired of our kitchen island. I wanted something that was practical for the size of our kitchen. I also wanted something I could prepare food on and also entertain friends while I cooked. I watched enough episodes of FixerUpper to know I wanted a special kitchen island – one like Joanne Gaines creates in the kitchens she designs on the HGTV show, FixerUpper.
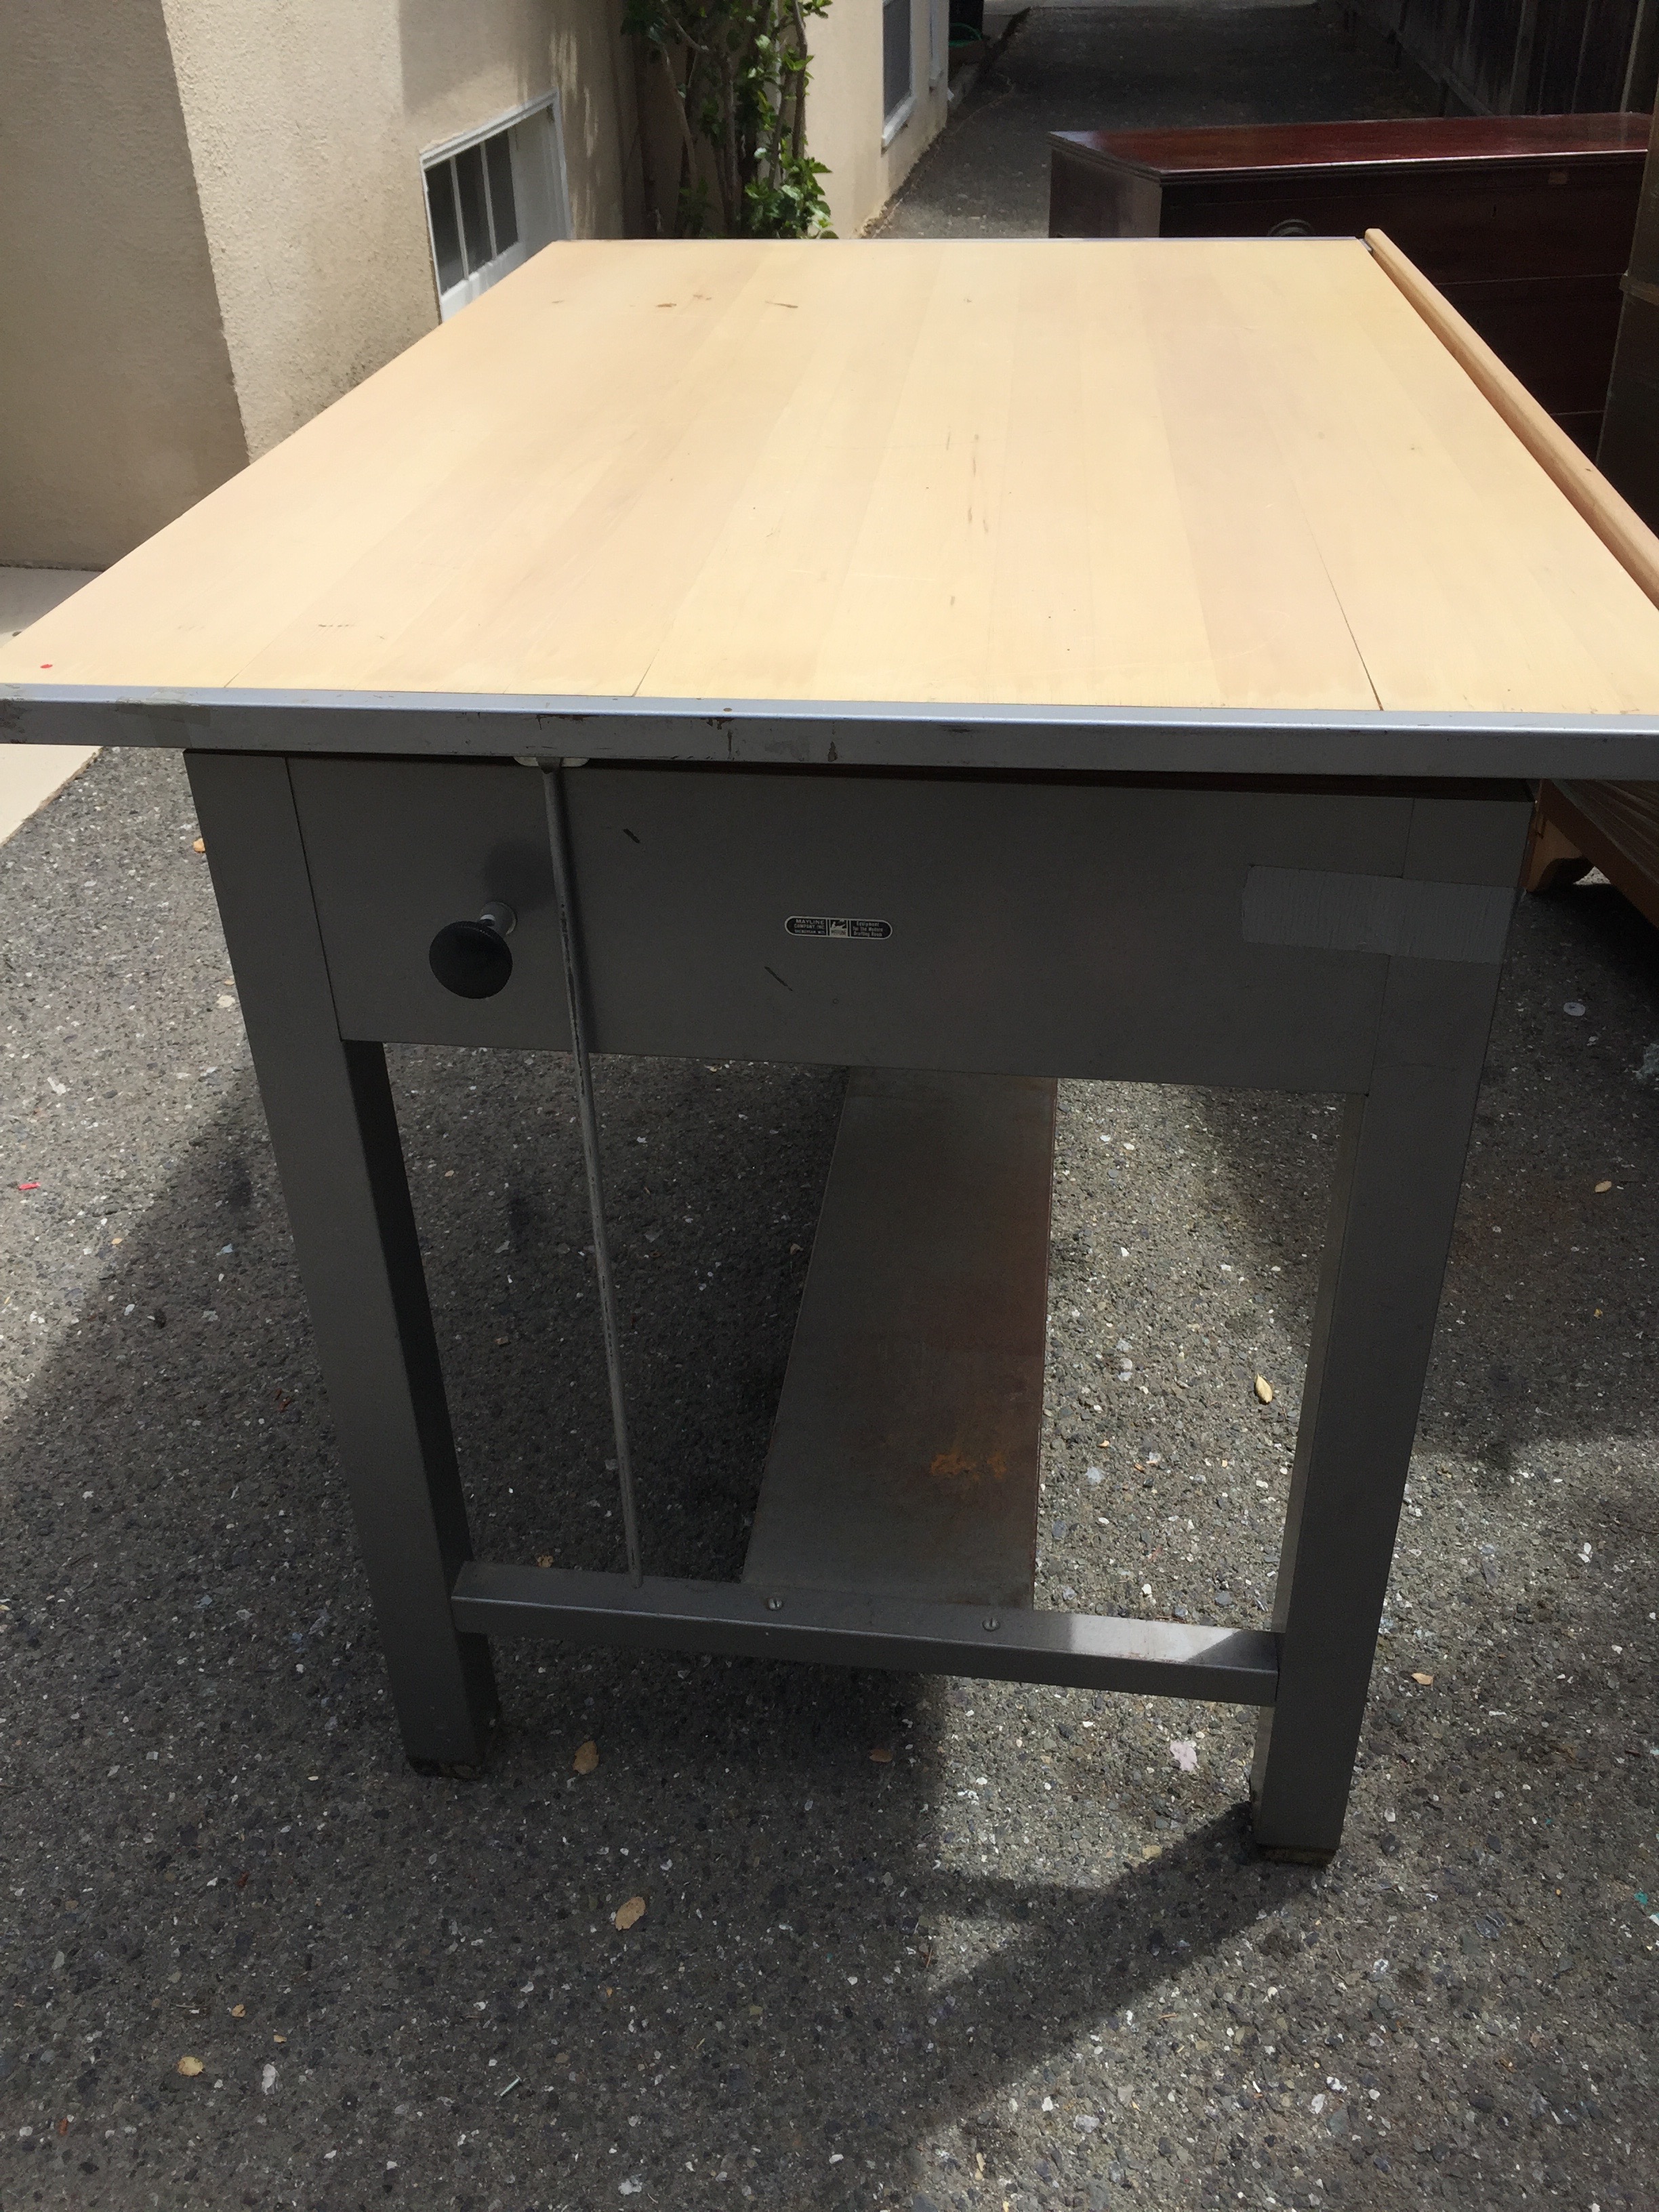
On a sun-filled summer Saturday morning, after looking up a few sales in our area on Craigslist, we came upon a Mayline drafting table at an estate sale in our neighborhood. Smiling big, I told my husband I thought it would make a perfect kitchen island! He shook his head no, smirking.
About the same time, the man of the house walked over and said they wanted to get rid of that drafting table NOW. I asked him what they wanted for the table. He shrugged and I pounced. “How about $20?” I said in my best buyer voice. He shook his head yes and helped my husband load it into our SUV immediately, hoping his wife didn’t notice the fire sale. It was a win-win – we were going to have a new kitchen island and he had a cleaner garage!
When we got it home, I looked up Mayline drafting tables on EBay. I wasn’t totally surprised when I found out drafting tables like this sell for more than $1000. But after about 30 seconds of conversation, we decided we were still going to use it as a kitchen island. Buy low, sell high is another blog!
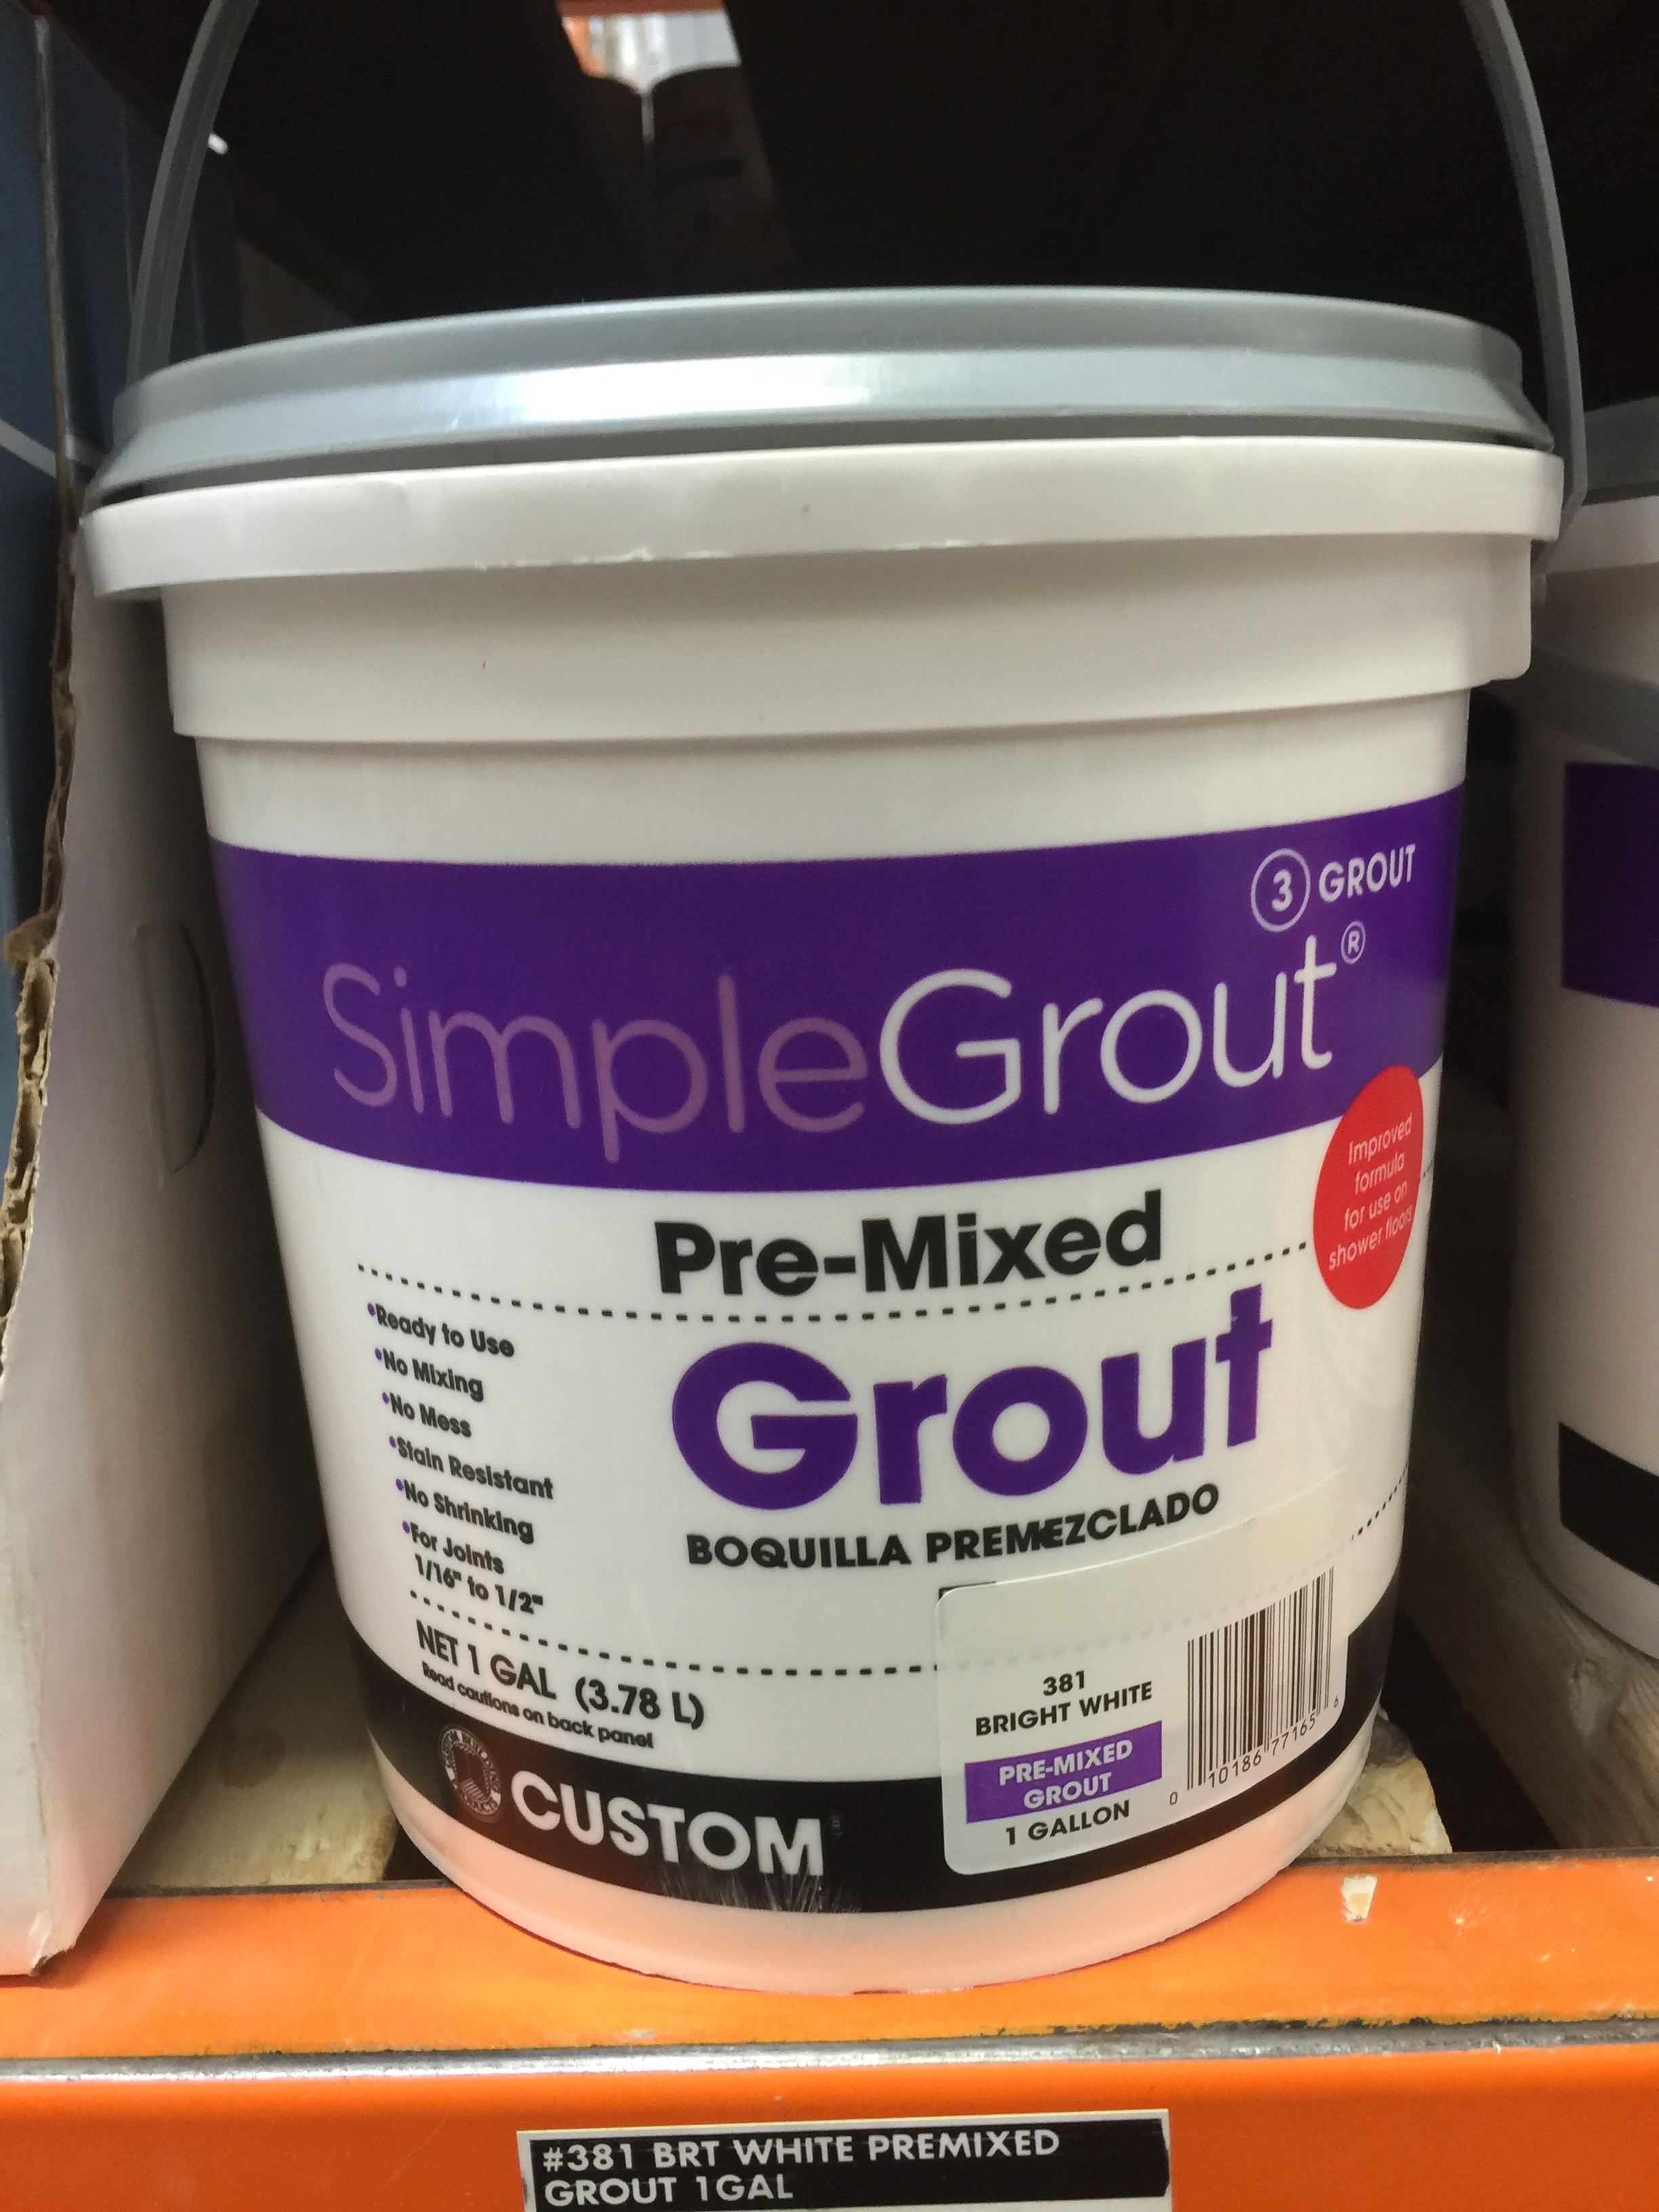
We were excited to learn a new skill, grouting. We haven’t done tile work in the past, but we weren’t scared. We went to our local Home Depot and began asking questions. The section clerk was so helpful and gave us a lot of confidence. He told us exactly what we needed to grout: a special glue to hold the tiles down, grout to put in the gaps and then a sealing spray.
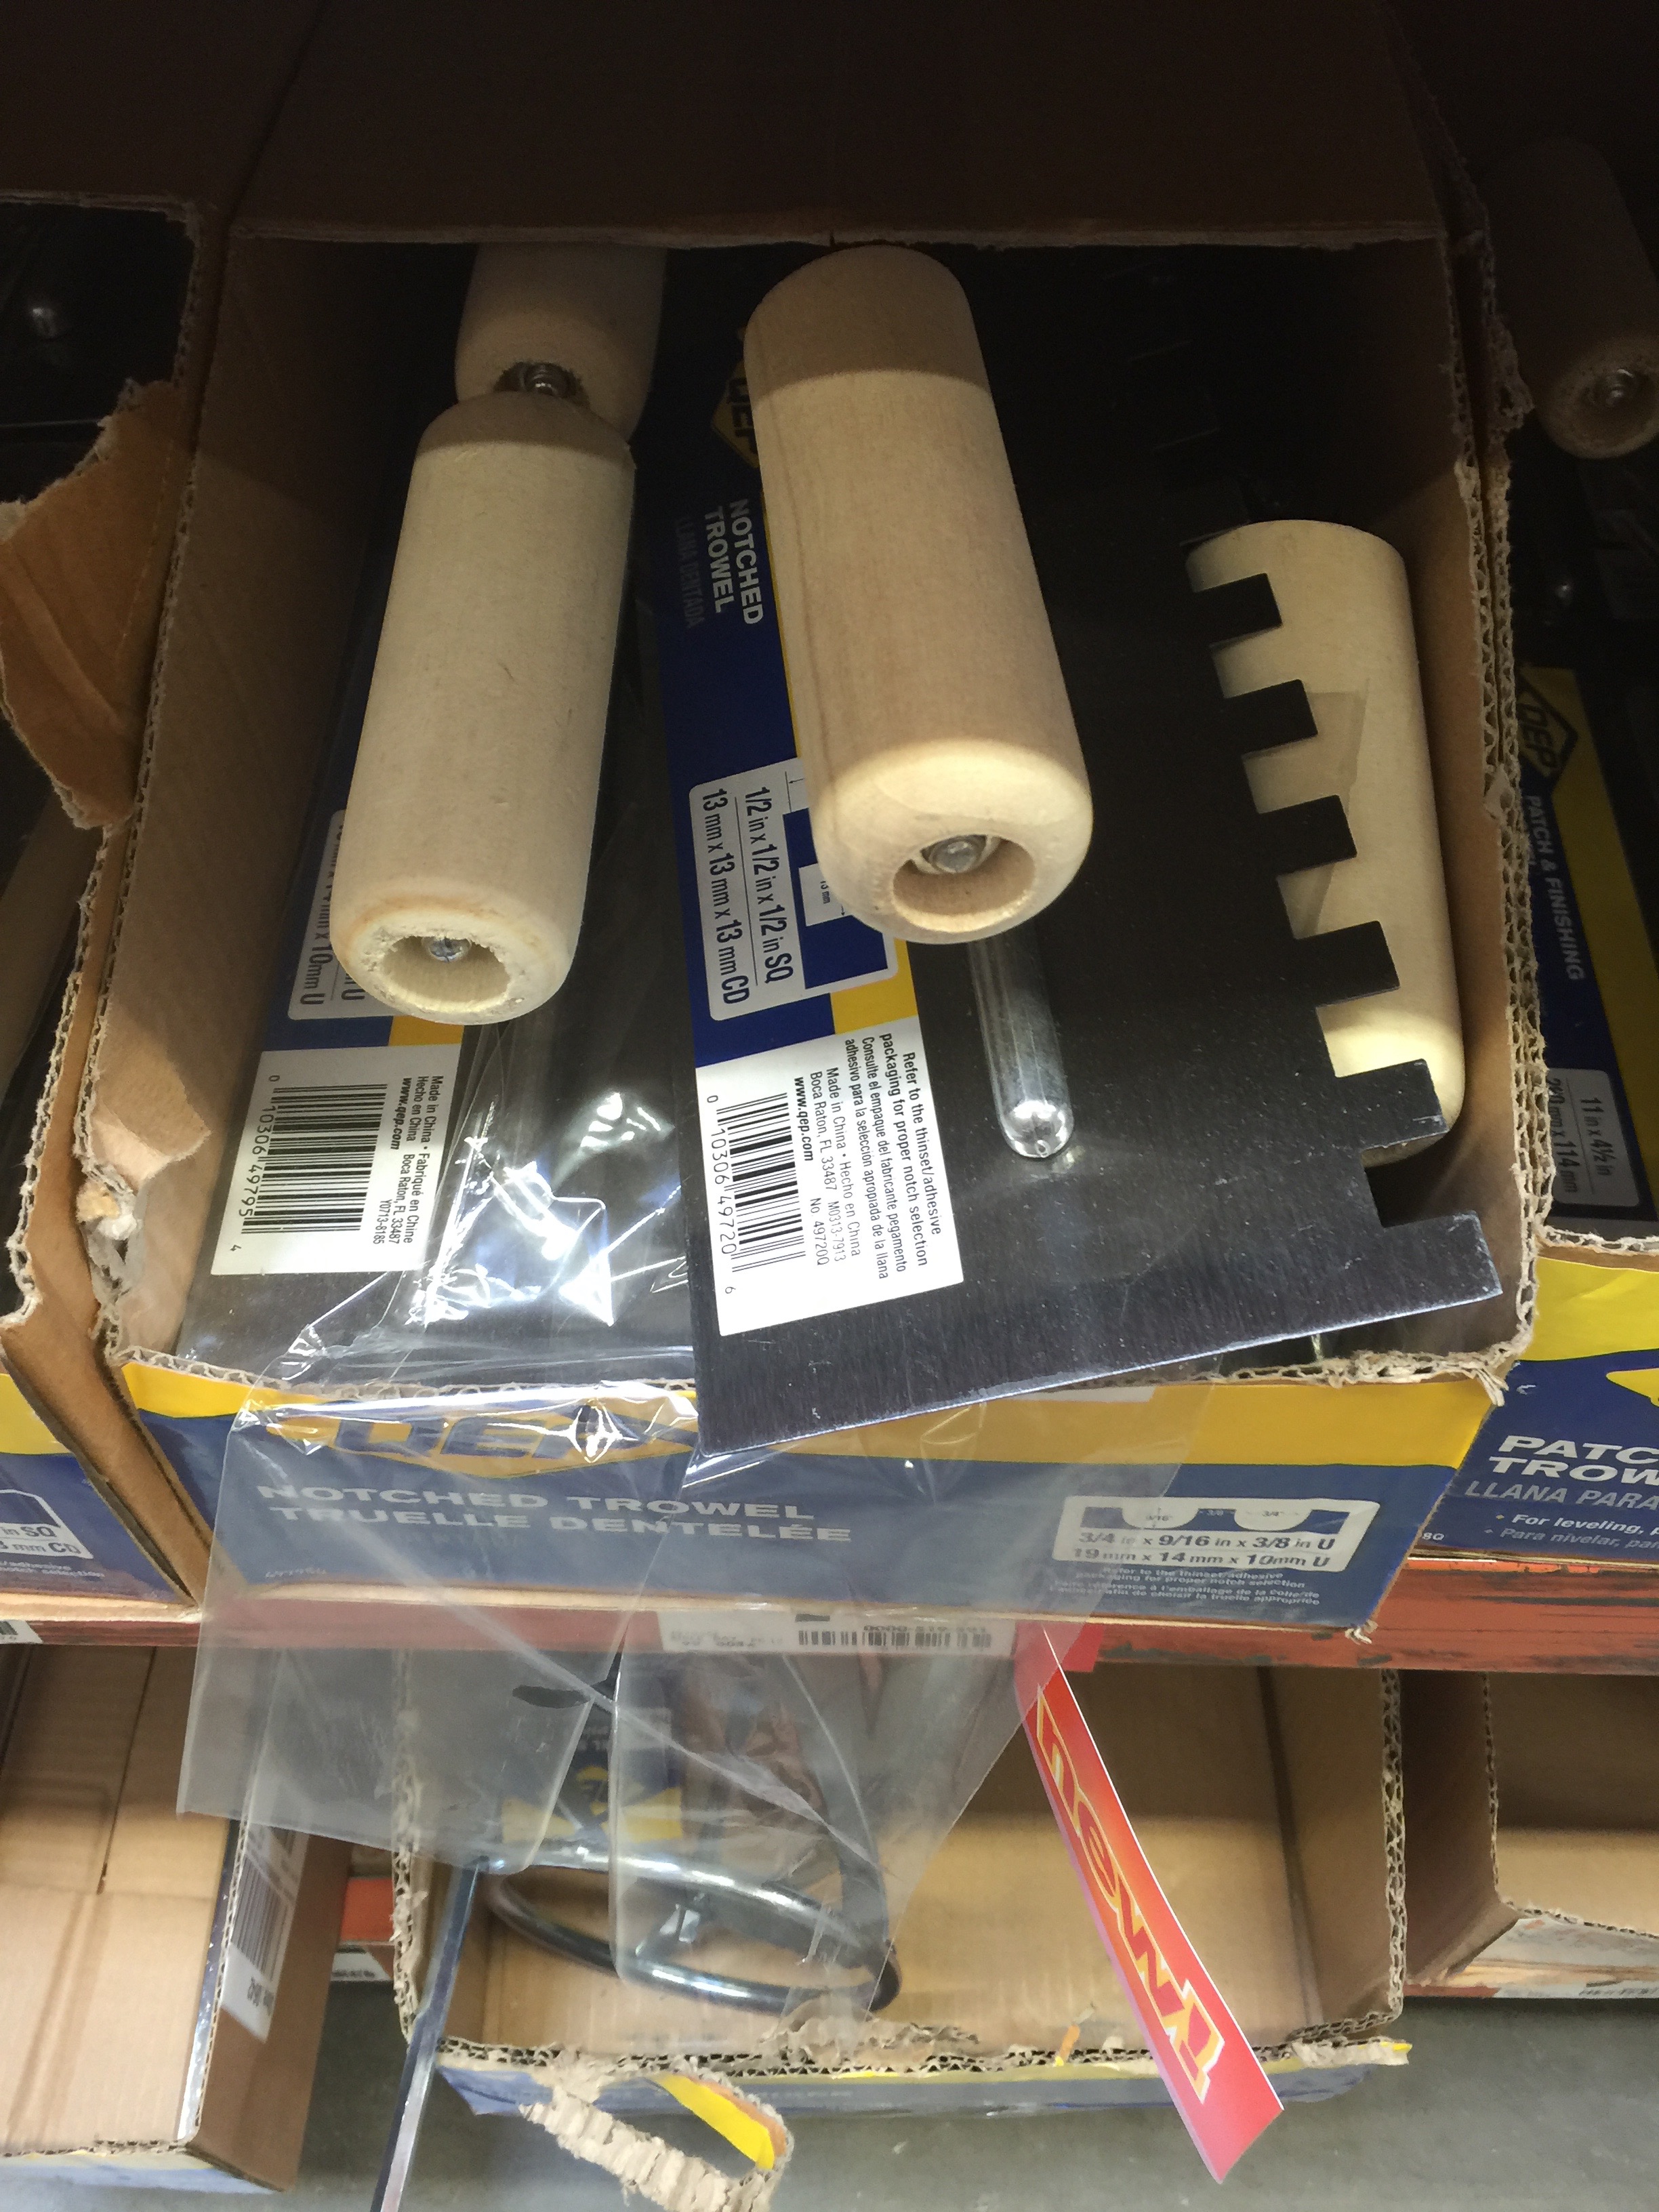
We also needed a sponge, a bucket of warm water and a couple of tools. Again, the Home Depot clerk helped us find everything and sent us on our way to pick out the tile.

We then debated over a number of tiles for at least 10 minutes. We needed 16 12 by 12 tiles; and unless we wanted the table to cost hundreds of dollars, we had to settle on a lower budget tile. This tile cost us $11.99 each. The tile was the real expense of our kitchen island.
We decided to add a piece of board on the bottom (where the T-based support was). We wanted a shelf to store all of our small appliances, pans, and cooking utensils out-of-the-way and off the cabinet tops. We bought the wood at Home Depot for 70 percent off (Oops paint and pieces of wood are great for DIY projects!).

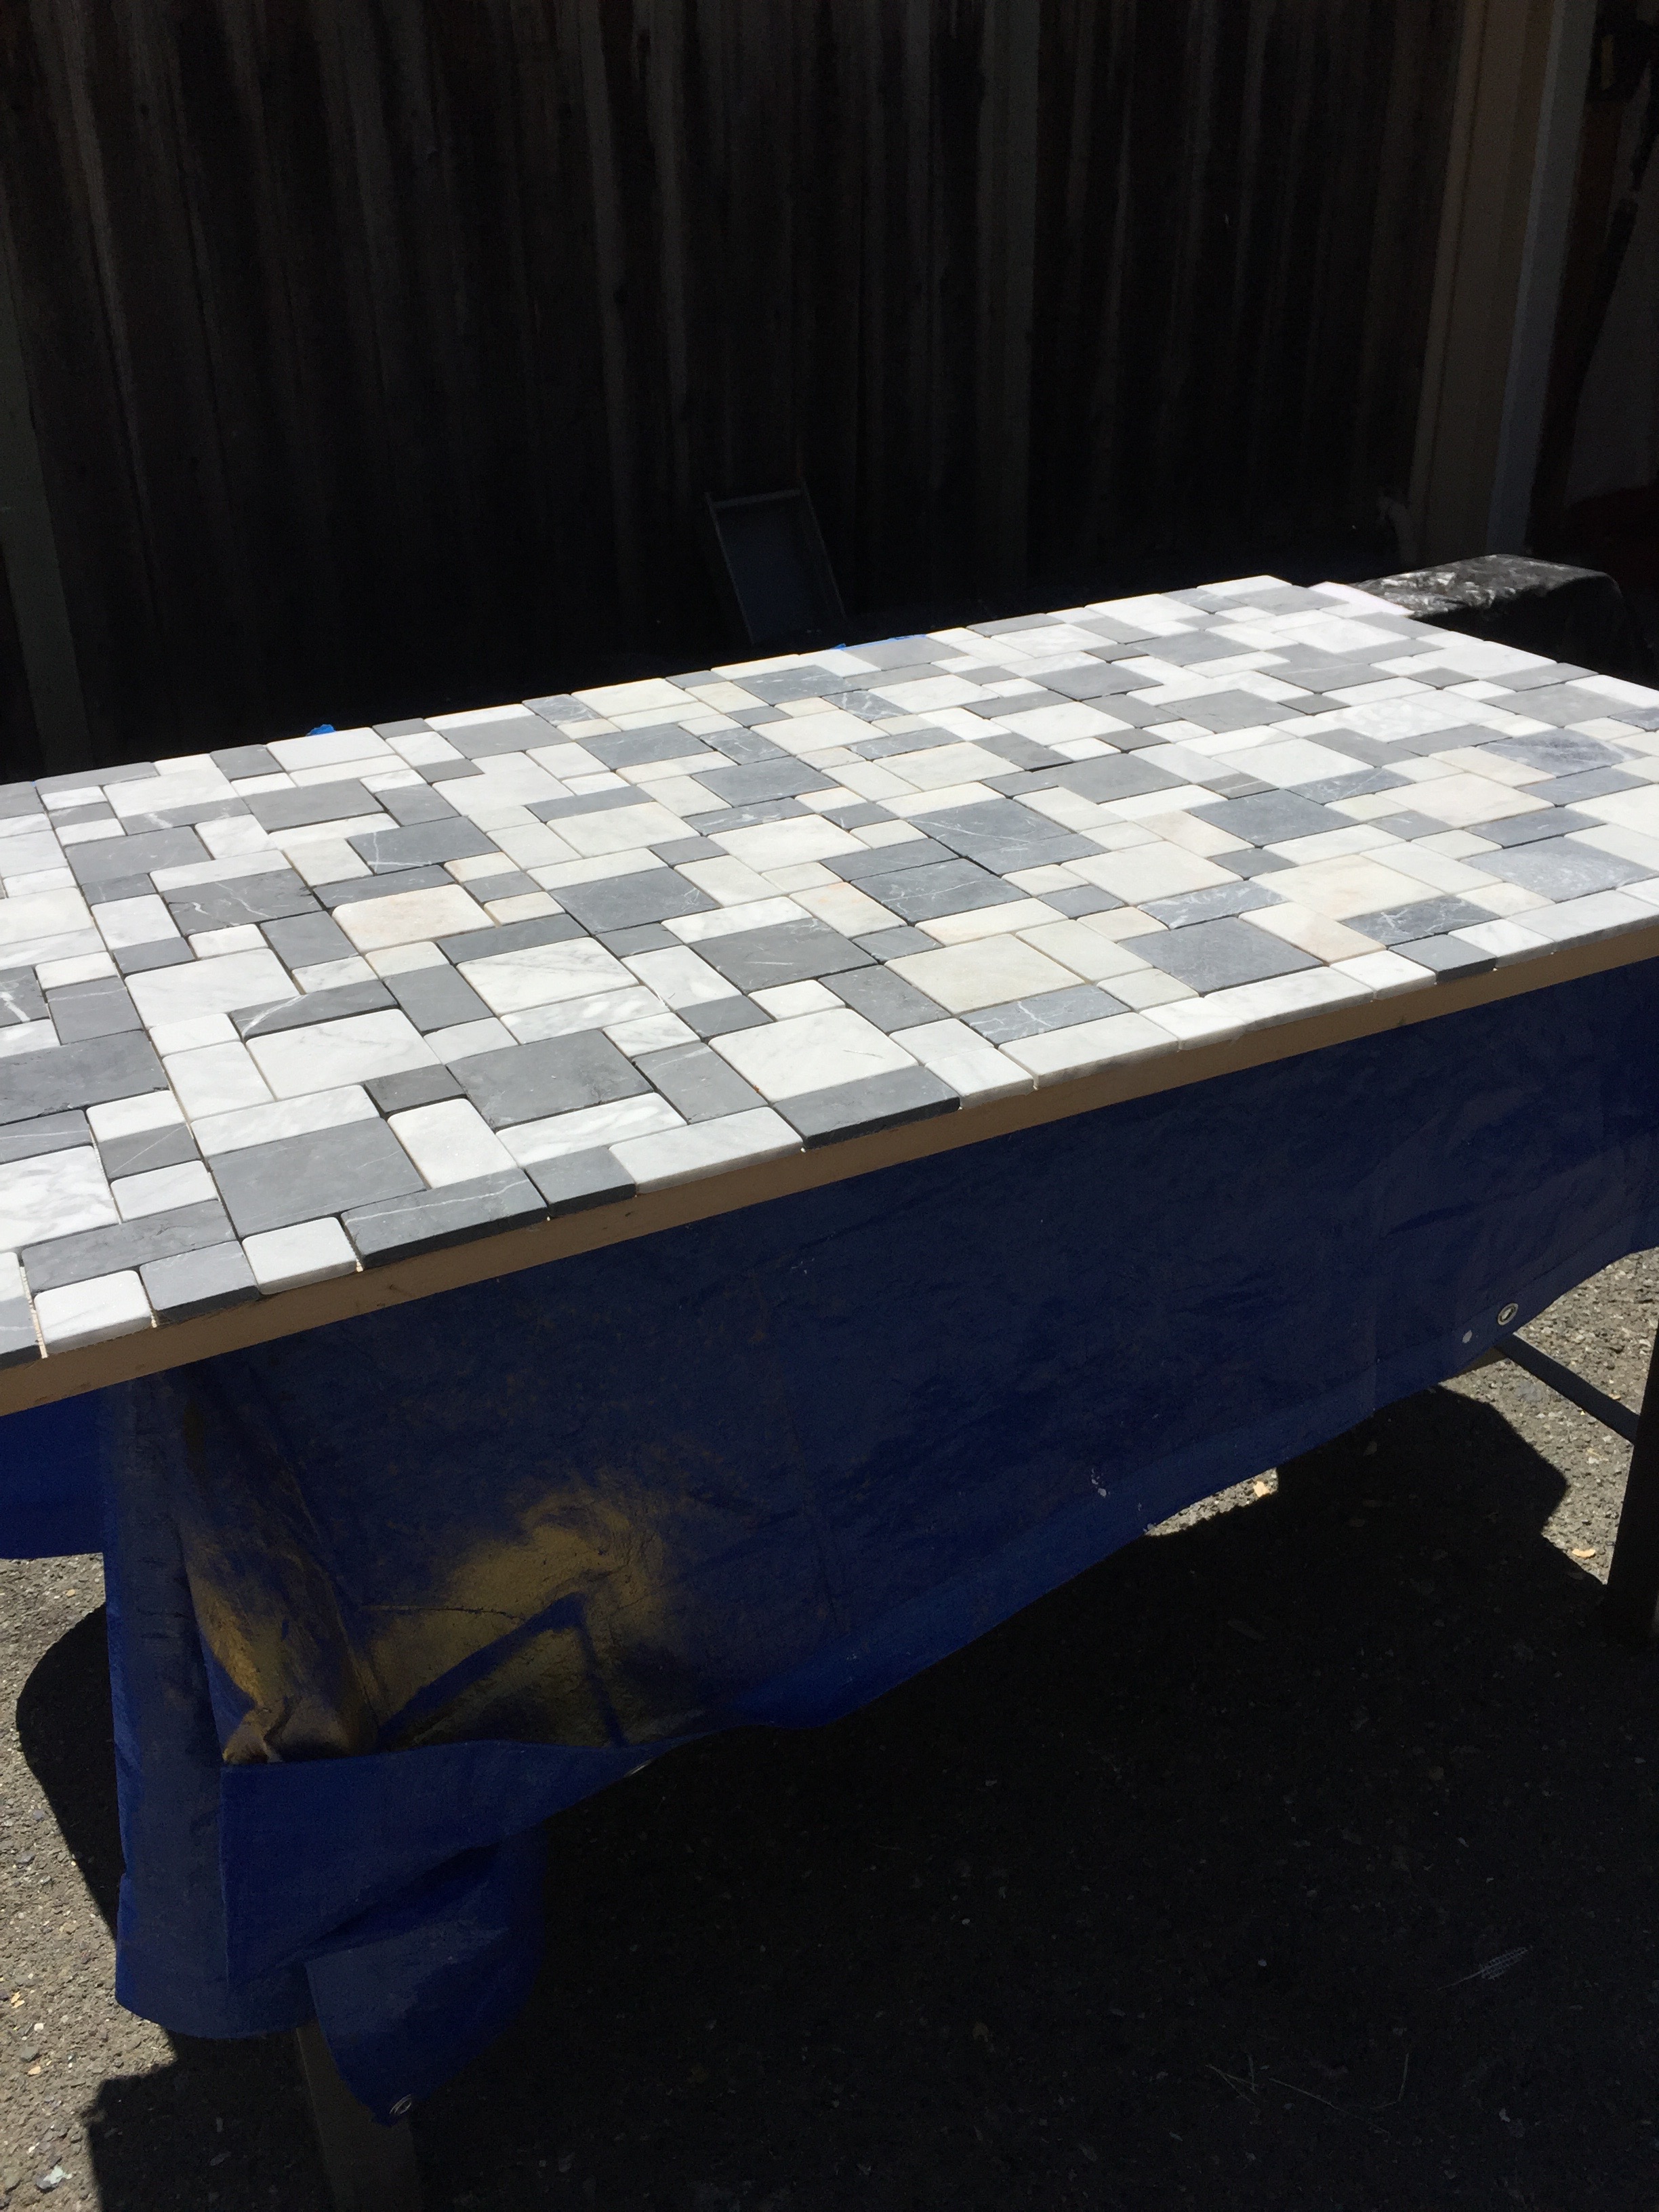
Nick and I make a great team! When we got home, we got right to it. I painted the shelf, gave the drafting table a new spray of paint (spray paint at Home Depot is $3.98!), and then we laid the 12 by 12 tiles out on our benches after washing each of them. He put down the glue and I started placing the tiles. We worked on a couple of other projects, giving the glue a chance to set and then Nick started to grout. He used the grout tool to spread it between the tiles. He immediately used a wet sponge to wipe off the excess and did this until every tile was grouted. When he was finished, I use the sealant spray – coating the tiles.
If you want more detailed instruction on grouting, click here and read this step by step description. Bob Villa is the master on topics like this.
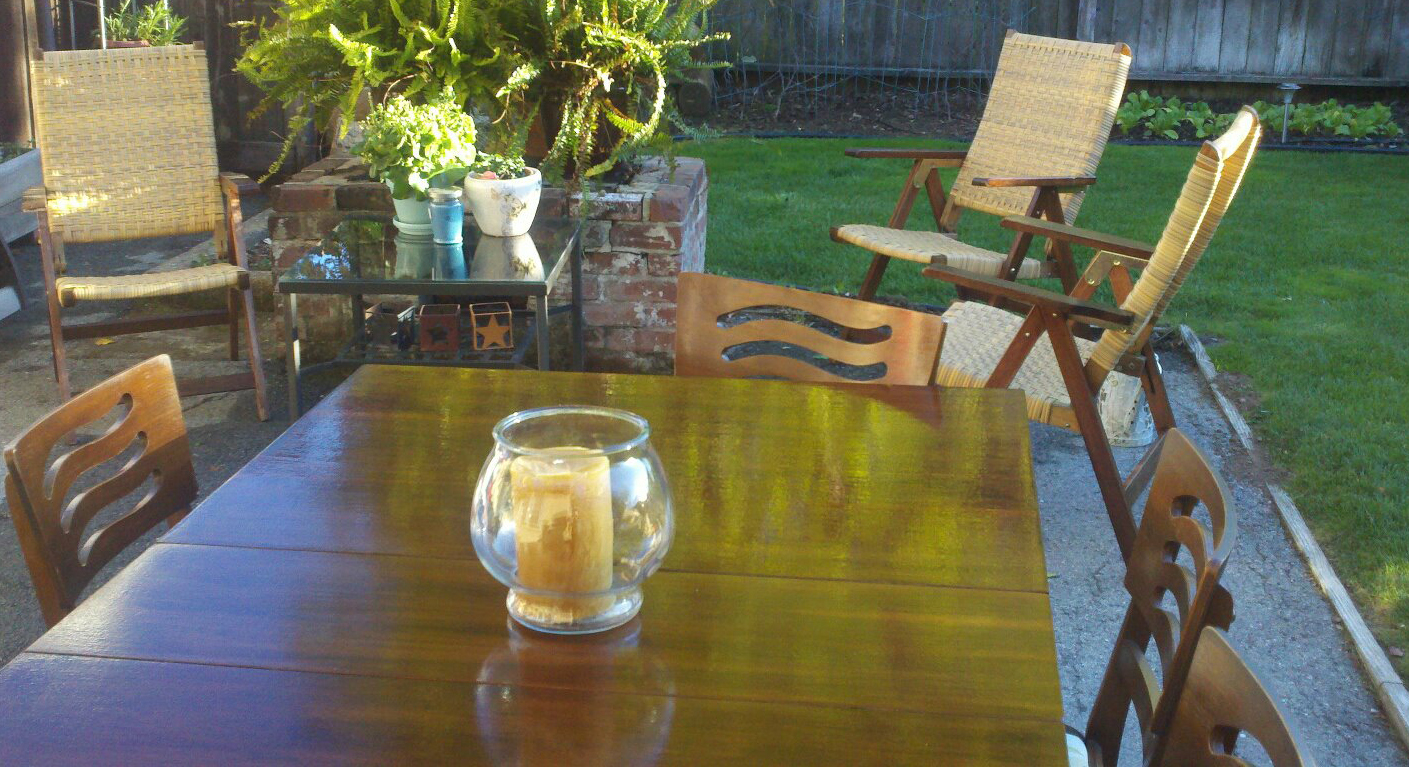
After lunch, we carried the table and then the top inside to the kitchen. We set it up and were amazed. We added a couple of steel kitchen stools and it was finished (Craigslist $30 for the pair!). We use the long drawer, where architects plans use to be stored, to hold cutting boards. We use the long skinny drawer, where drafting tools were stored, to hold knives and scissors. It is amazing and we couldn’t be happier.
All told, we spent $191 for the tiles, $20 for the table, and less than $40 for the grout, tools and spray paint. The island cost us less than $250! If we bought it in a store, it could have cost up to $2000. Even better, we saved a drafting table from the landfill, helped two husbands put smiles on their wives faces (mine and the estate sale family) and learned a new skill, how to grout.


One comment